JSF and RichFaces
Recently, I got a project to work on JSF RichFaces1. RichFaces project reached end-of-life in June 2016. Thanks to Java backward compatibility I managed to run the RichFaces application on TomEE 7 using Intellij Idea as IDE.
Here the facelet which is using
- Run the following maven archytype in your command prompt as explained in the JBoss Community guide2:
mvn archetype:generate -DarchetypeGroupId=org.richfaces.archetypes -DarchetypeArtifactId=richfaces-archetype-simpleapp -DarchetypeVersion=4.5.17.Final -DgroupId=au.com.blogspot.ojitha.jsf.ex1 -DartifactId=JSFEx1 - Import the project into IntelliJ IDEA (I am using Ultimate 2020.2)
- Download and install TomEE3 7.0.81: nothing more than unzip.
- As shown in the following screenshot, you have to configure TomEE
- First, open the configuration
configure TomEE - After configuring the TomEE home directory, goto the deployment tab and add the exploded project because development is easy: changes reflected without redeployment.
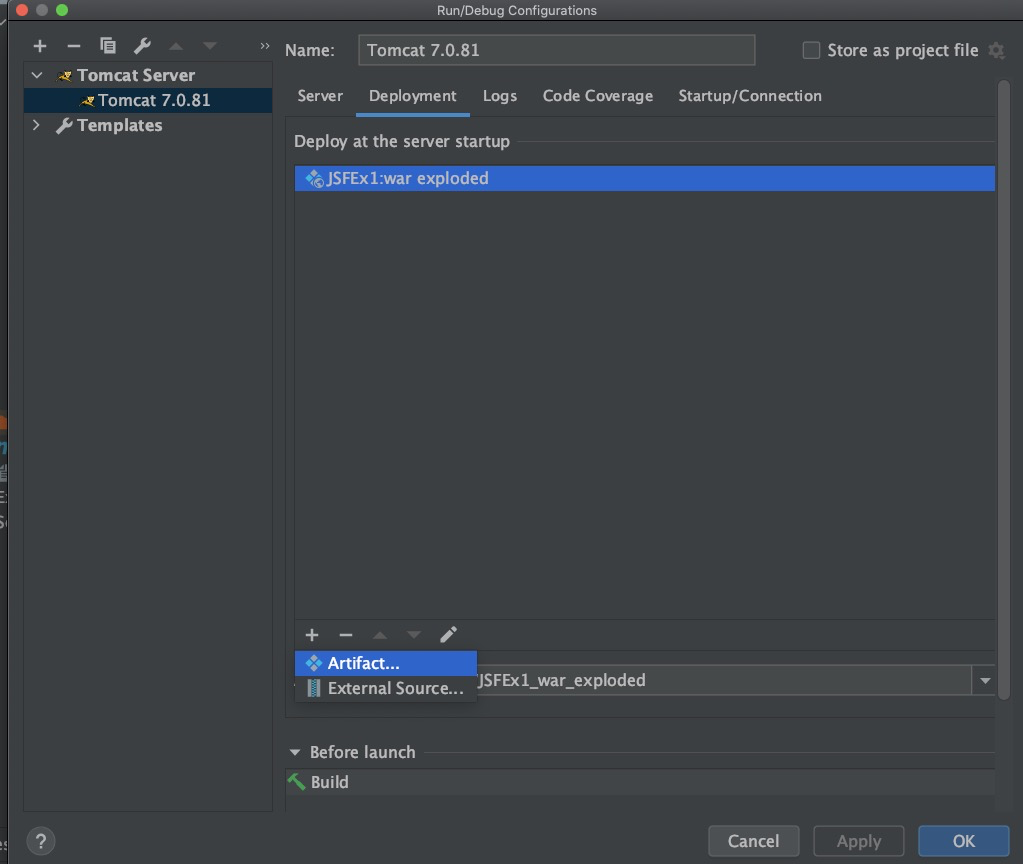
Add exploded web project to TomEE - Please verify the configuration is similar to my configuration:
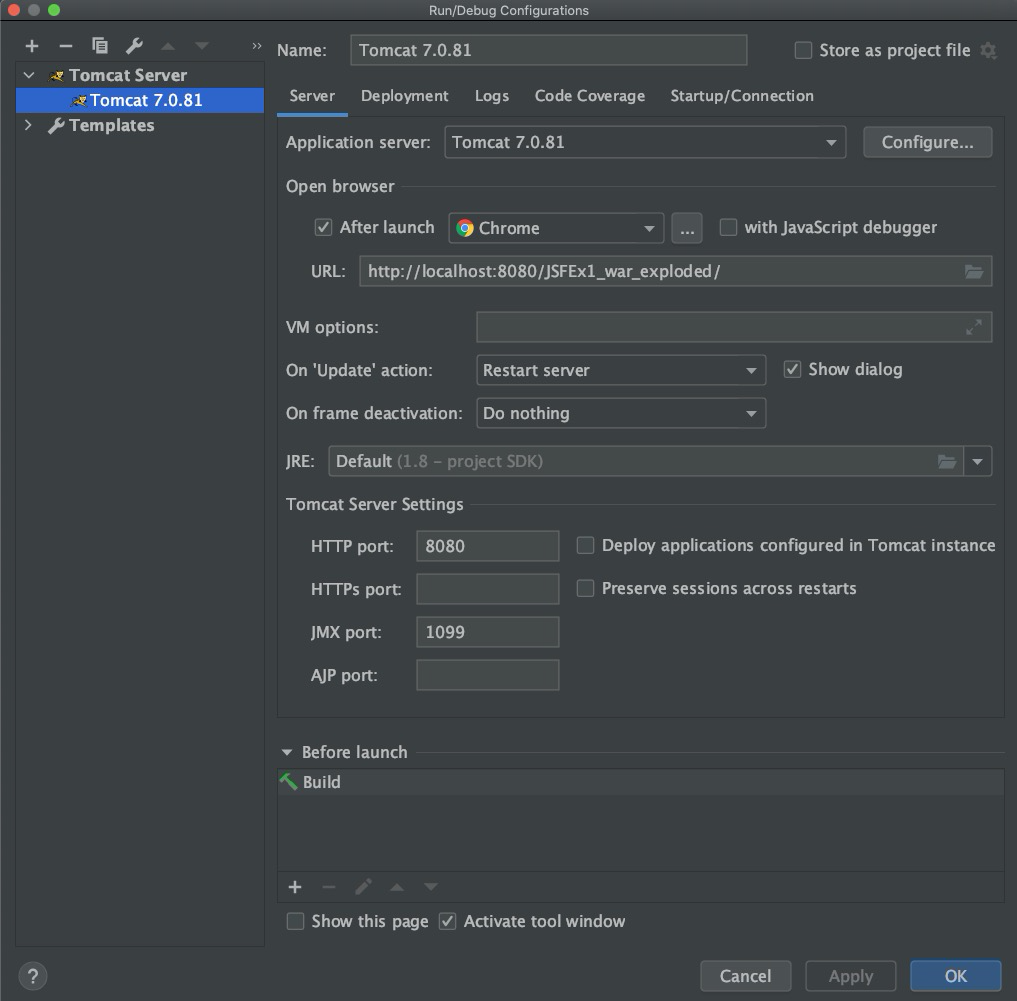
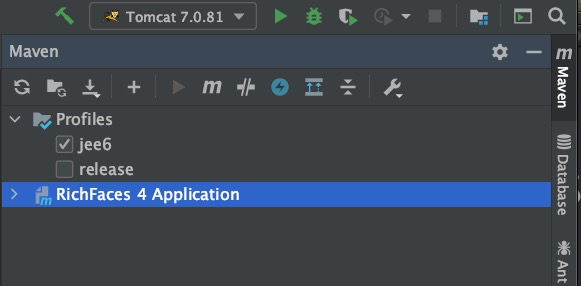
JBOss default configuration - after configuring the TomEE, you can use the
Servicestab to deploy:
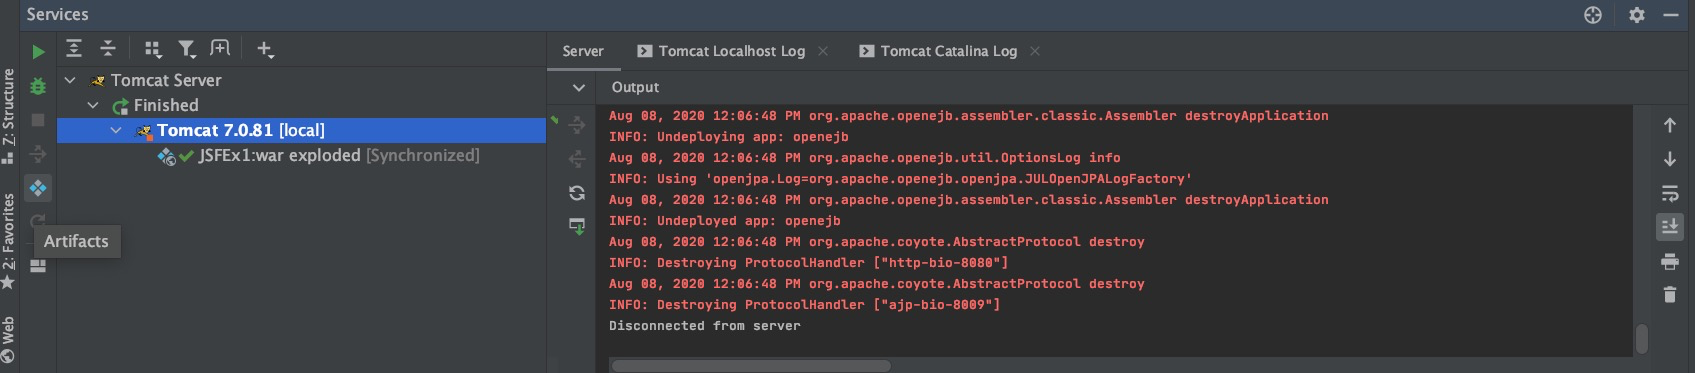
Use services tab to deploy exploded web application
- First, open the configuration
- Now you are ready to test your configuration. As shown in the above screenshot click the green arrow button to run the TomEE. It should open the new browser and show the page.
JBoss sample application index.xhtml - Share this project to GitHub.
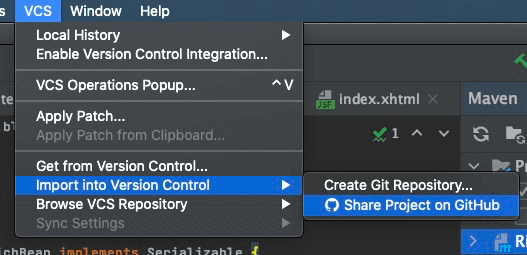
Share project to GitHub
Redeploy button in the Services tab.New Richfaces page
Say you want to add the new page: ex1.xhtml as follows:<?xml version = "1.0" encoding = "UTF-8"?>
<!DOCTYPE html>
<html xmlns = "http://www.w3.org/1999/xhtml"
xmlns:h = "http://java.sun.com/jsf/html"
xmlns:rich = "http://richfaces.org/rich">
<h:head>
<title>Panel Example</title>
</h:head>
<h:body>
<rich:panel header = "RichFace Tutorials " style = "font-size: 500px;
align-items:center; background-color: activecaption">
Hello Ojitha!
</rich:panel>
</h:body>
</html>
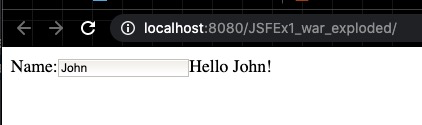
/faces/ex1.xhtml: for example http://localhost:8080/JSFEx1_war_exploded/faces/ex1.xhtml.Manage bean
This example from the showcase which shows how to use Uer.java asuserBean manage bean.package au.com.blogspot.ojitha.jsf.ex1;
import javax.faces.bean.ManagedBean;
@ManagedBean(name = "userBean")
public class User {
private String name="";
public String getName() {
return name;
}
public void setName(String name) {
this.name = name;
}
}
userBean managed bean to use by the facelet.Here the facelet which is using
userBean.<!DOCTYPE html>
<html xmlns="http://www.w3.org/1999/xhtml" xmlns:h="http://java.sun.com/jsf/html"
xmlns:f="http://java.sun.com/jsf/core" xmlns:ui="http://java.sun.com/jsf/facelets" xmlns:a4j="http://richfaces.org/a4j"
xmlns:rich="http://richfaces.org/rich">
<h:outputStylesheet>
.outhello {
font-weight: bold;
word-break: break-all;
}
</h:outputStylesheet>
<h:form id="form">
<h:panelGrid columns="3">
<h:outputText value="Name:" />
<h:inputText value="#{userBean.name}" />
<a4j:commandButton value="Say Hello" render="out" execute="@form" />
</h:panelGrid>
</h:form>
<br />
<a4j:outputPanel id="out">
<h:outputText value="Hello #{userBean.name} !" rendered="#{not empty userBean.name}" styleClass="outhello" />
</a4j:outputPanel>
</html>
name property. 

Comments
Post a Comment
commented your blog